Engr Umair Sharif Khan
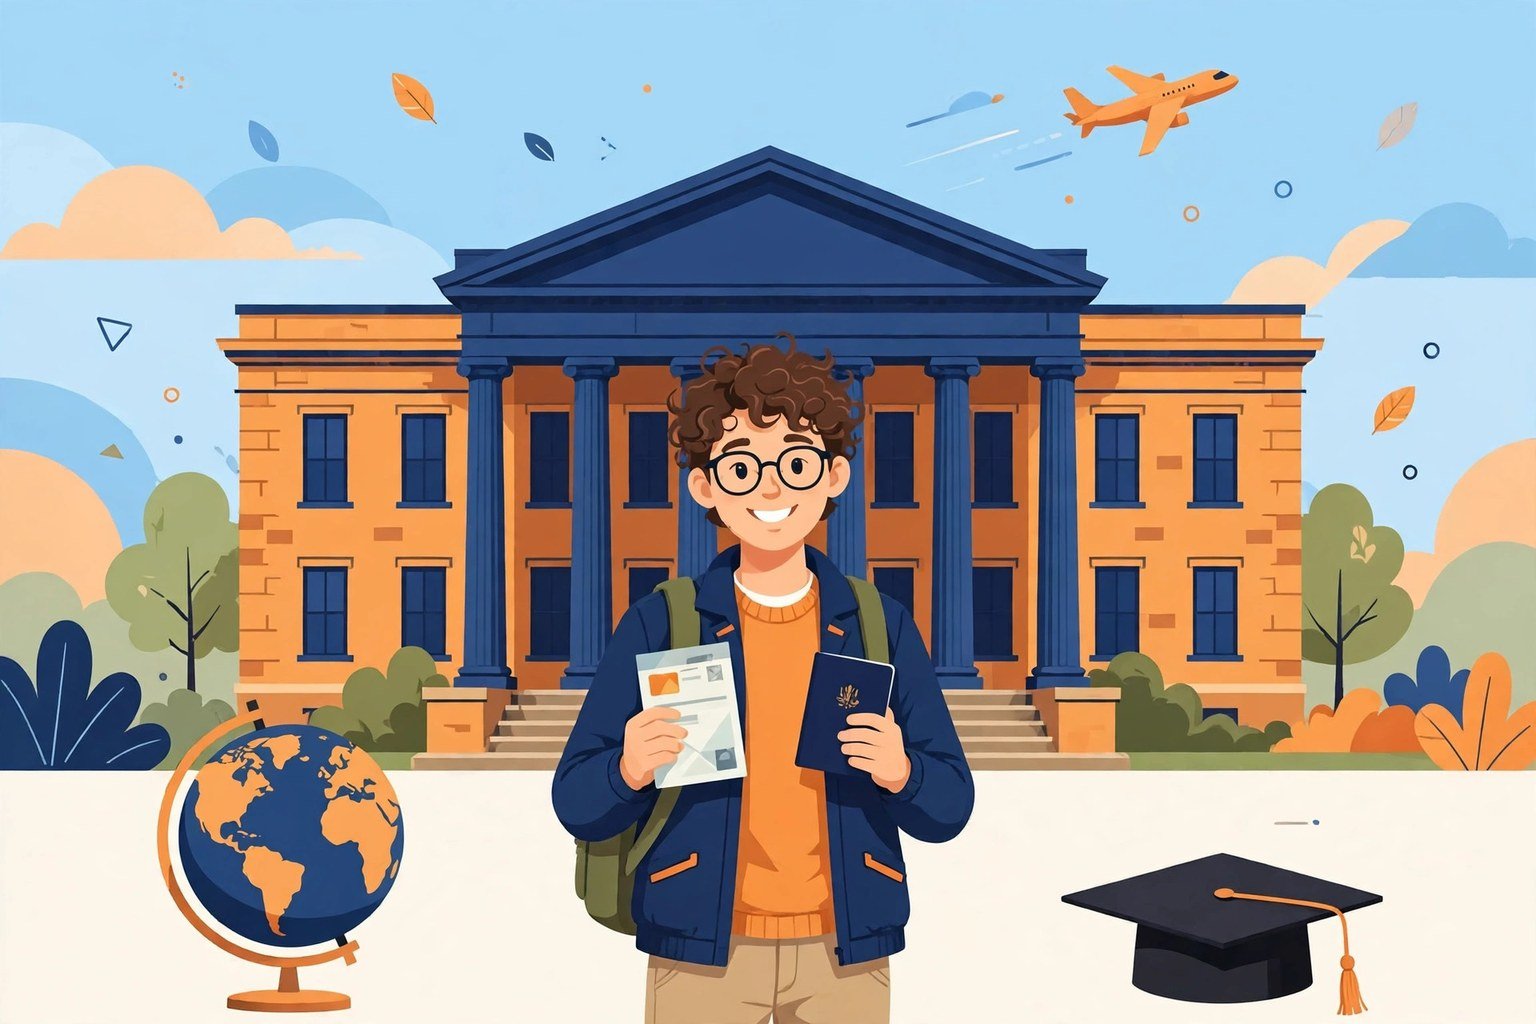
Getting into a U.S. university is only half the journey for an international student. Before you can board your flight, you need an F-1 student visa — the document that lets you study full time in the United States. The process has several steps, two government fees, and an in-person interview, and a small mistake at any stage can cost you weeks. This guide walks you through the whole process in order, with the current fees and the rule changes that took effect in 2025 and 2026.
What Is the F-1 Student Visa?
The F-1 visa is the standard U.S. visa for full-time academic study — undergraduate and graduate degrees, community college, high school, and English-language programs. It is a nonimmigrant visa, which means the U.S. government expects you to return home after your studies. To qualify, you must be admitted to a school certified by the Student and Exchange Visitor Program (SEVP), prove you can pay for your first year of study, and convince a consular officer that you are a genuine student with ties to your home country.
Once you arrive, your F-1 status lets you study full time, work on campus up to 20 hours per week during the semester, and take part in practical training programs such as CPT during your degree and OPT after graduation. If you are still choosing where to apply, read our guide on how to apply to a U.S. college as an international student first — the visa process only starts after you have an admission offer.
F-1 Visa Requirements at a Glance
Before you start, make sure you can tick every box:
- A valid passport, valid for at least six months beyond your planned stay in the U.S.
- Admission to an SEVP-certified school and a Form I-20 issued by that school.
- Proof you can pay for at least the first year of tuition and living costs.
- Payment of the $350 SEVIS I-901 fee.
- A completed DS-160 online visa application.
- Payment of the $185 visa application (MRV) fee.
- An in-person interview at a U.S. embassy or consulate.
Step 1: Get Admitted and Receive Your Form I-20
Everything starts with admission. Only SEVP-certified schools can issue the Form I-20, the document that creates your record in SEVIS, the U.S. government’s student database. You can check whether a school is certified on the Department of Homeland Security’s Study in the States website before you apply.
After you are admitted and accept the offer, the school’s international office will ask for your passport and financial documents — bank statements, scholarship letters, or sponsor affidavits — and then issue your I-20. Check every detail on it the moment it arrives: your name and date of birth must match your passport exactly, and the program dates and funding figures must be correct. Any error means a corrected I-20 and a delay, so catch mistakes now, not at the embassy. For a full picture of the costs you will need to document, see how international students pay for college in the USA.
Step 2: Pay the SEVIS I-901 Fee ($350)
Once your I-20 is in hand, pay the SEVIS I-901 fee of $350 for F-1 students. You pay online at fmjfee.com using the SEVIS ID printed on your I-20, by card, check, money order, or Western Union. Keep the receipt — the SEVIS ID on it must match your I-20, and you generally must pay at least three business days before your interview. The fee is non-refundable, so do not pay it until your I-20 details are confirmed correct.
Step 3: Complete the DS-160 Application
The DS-160 is the online nonimmigrant visa application, completed at the Consular Electronic Application Center (ceac.state.gov). Fill it out in English and answer every question accurately, including your travel history, any prior visa refusals, and the social media identifiers the form asks for. Everything you write must match your I-20, your documents, and what you say at the interview — inconsistencies are one of the most common reasons for delays. When you finish, print the confirmation page with the barcode; you will need it at the interview.
Step 4: Pay the Visa Fee and Book Your Interview
The visa application (MRV) fee for F-1 students is $185, also non-refundable. Each embassy or consulate explains how to pay and how to schedule — follow your local embassy’s instructions exactly. As of 2026, you should apply in your country of nationality or residence; booking in a third country where you do not live can mean significantly longer waits, and the fee is not refunded if your application is refused.
Two timing rules matter here. First, a student visa can be issued up to 365 days before the program start date on your I-20, so apply early. Second, the State Department recommends applying at least three months before your program starts, because processing times range from a few days to several weeks depending on your country and the time of year.
Step 5: Prepare for the Interview
Since September 2, 2025, the State Department has ended interview waivers for most applicants, including students — so expect an in-person interview. Gather your documents in a folder you can open quickly:
- Passport and a printed DS-160 confirmation page.
- Your I-20, signed by you and your school’s designated school official.
- SEVIS fee receipt and visa fee receipt.
- Financial evidence: bank statements, scholarship or assistantship letters, sponsor documents.
- Academic records: transcripts, test scores, and your admission letter.
- Proof of ties to your home country: family, property, a job offer, or a clear plan to return.
Step 6: Attend the Visa Interview
The interview is usually short — often just a few minutes — but it decides your application. The officer wants to understand three things: that your study plans are genuine, that you can pay for them, and that you intend to leave the U.S. after your studies, as required under section 214(b) of the Immigration and Nationality Act.
Answer in your own words and keep your answers specific. Instead of “I want a good education,” say what you will study, why this university and program, and what you plan to do with the degree back home. Be ready for the standard questions: why this university, why this major, who is paying, and what you will do after graduation. If your visa is approved, the officer keeps your passport to print the visa; if it is refused under 214(b), the most common reason is weak ties to your home country, and you can reapply with stronger evidence.
After Approval: Entering the United States
Once your visa is issued, you may enter the U.S. up to 30 days before the program start date on your I-20 — not earlier. At the airport, a Customs and Border Protection officer will check your passport, visa, and I-20 and admit you. Keep your I-20 and financial documents in your carry-on, not in checked luggage. On arrival, report to your school’s international office and complete any check-in they require; your school must register your arrival in SEVIS.
2025–2026 Rule Changes to Know
Three recent changes affect F-1 applicants. First, as noted above, interview waivers for most applicants ended on September 2, 2025, so an in-person interview is now the norm. Second, applicants are expected to apply in their country of nationality or residence. Third, the Department of Homeland Security published a final rule on July 17, 2026 that would replace “duration of status” admission with a fixed admission period tied to your program end date, capped at four years. That rule was due to take effect on September 15, 2026, but on September 14 a federal court in Massachusetts issued a nationwide preliminary injunction, so as of late 2026 students are still admitted for duration of status. Because this litigation is ongoing, confirm the current position on travel.state.gov before you apply.
Common F-1 Visa Mistakes to Avoid
- Applying too late. Start the moment your I-20 arrives. Interview slots fill up fast in the summer, and processing can take weeks.
- Mismatched information. Your name, dates, and funding figures must be identical on the I-20, DS-160, and financial documents.
- Weak financial proof. Show funds for at least the first year, with documents the officer can verify — vague promises do not count.
- Vague answers at the interview. Know your program, your costs, and your post-graduation plan in concrete terms.
- Forgetting the 30-day rule. Book flights no earlier than 30 days before your program start date.
Frequently Asked Questions
How much does an F-1 visa cost in total?
The two government fees are the $350 SEVIS I-901 fee and the $185 visa application (MRV) fee — $535 in total as of 2026. Both are non-refundable, even if your visa is refused.
How early can I apply for an F-1 visa?
Your visa can be issued up to 365 days before the program start date on your I-20. The State Department recommends applying at least three months before your program begins.
Can I work while studying on an F-1 visa?
Yes, on campus, up to 20 hours per week while classes are in session (full time during breaks). Off-campus work requires authorization, usually through CPT or OPT.
What happens if my F-1 visa is denied?
The most common reason is failure to show nonimmigrant intent under section 214(b). You can reapply, but you should first fix the weakness — stronger financial evidence, clearer study plans, or better proof of ties to your home country — and you must pay the fees again.
Do I need a new visa if I travel home during my studies?
If your visa has expired while you are still studying, you will need a new one to re-enter the U.S., even though your F-1 status itself remains valid. Plan renewals around your travel and allow time for an interview.
Key Takeaways
The F-1 visa process is a sequence, not a single form: admission and I-20, the $350 SEVIS fee, the DS-160, the $185 visa fee, and an in-person interview — then entry no more than 30 days before your program starts. Start early, keep every document consistent, and prepare to explain your study plans and your ties home in clear, specific terms. Do that, and the visa step becomes the straightforward part of your journey to studying in the USA. If you are still weighing whether the U.S. is the right destination, our guide on why study in the USA covers the benefits, costs, and alternatives side by side.